How to turn an empty food jar into a useful herb planter
· Editorial team newsfromportland24.com
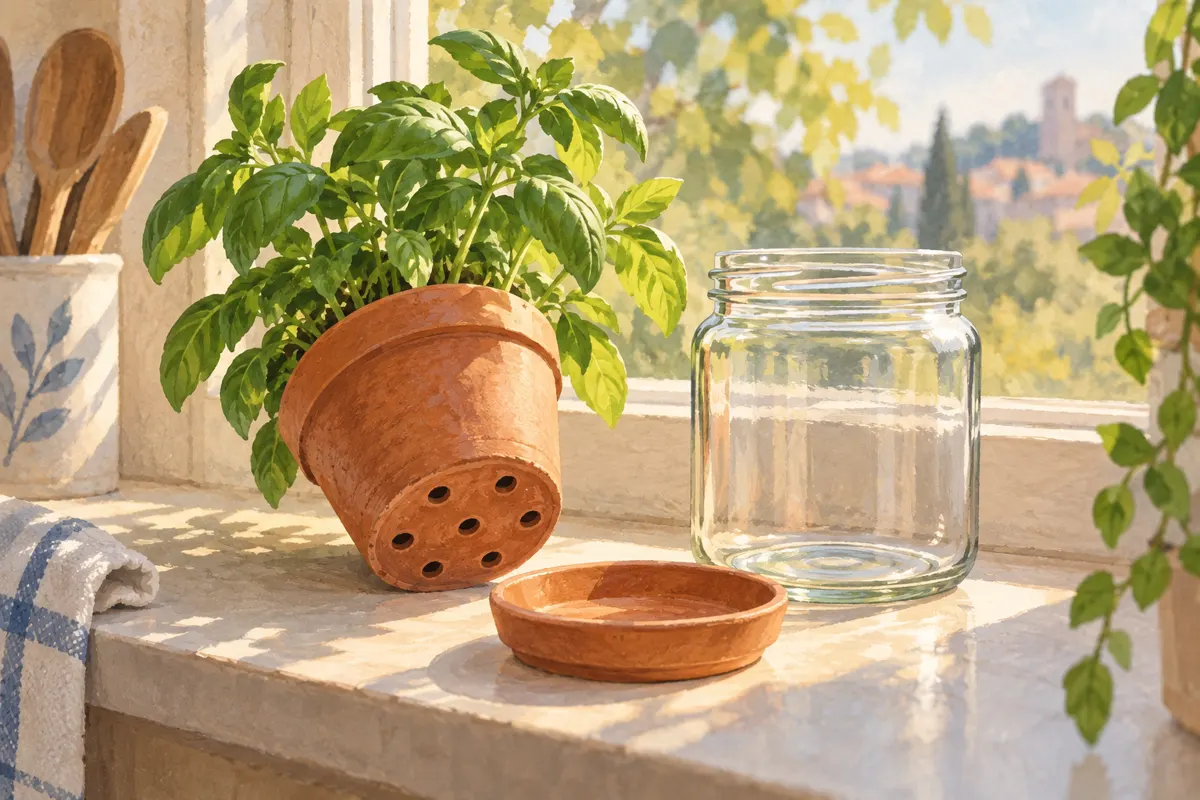
Turn an empty food jar into an herb planter by using it as a decorative outer container for a smaller, removable pot with drainage holes. Keep the soil and plant in that inner pot, lift it out for watering, and empty any water that collects in the jar. This setup lets you reuse the glass without drilling it.
Choose a jar that lets the pot come out easily
Reusing a food jar for kitchen herbs is a simple way to give an existing container another job. Our proposed setup uses the jar as a holder, with a separate pot inside. The most useful jar is one with a wide opening: the planted pot should slide in and out without catching on the rim or requiring you to pull on the herb.
- Choose an intact jar with no cracks, chips or sharp edges.
- Wash away food residue, rinse thoroughly and remove the label if you prefer clear glass.
- Find a small nursery pot with drainage holes that fits through the opening.
- Check that you can grip the pot’s rim once it is inside the jar.
- Keep the pot’s drainage holes above any water that might collect below.
Test the fit before planting. If the pot disappears too far into the jar or becomes wedged at the neck, choose a different pairing. Easy removal matters more than a perfectly concealed plastic pot.
Keep drainage in the inner pot
An intact glass jar has no route for excess water to escape. Adding stones to the bottom does not create drainage; water remains inside the glass. For this project, leave the soil in a pot with holes and treat the jar as a decorative cover, not a water reservoir.
You need only the clean jar, the removable pot, a small herb plant and potting mix intended for containers. A saucer or sink provides somewhere for the inner pot to drain during watering. Skip gravel, decorative soil layers and glass-drilling equipment: none is needed for this arrangement.
Plant one small herb and give it suitable light
For a first attempt, we propose starting with one small herb plant rather than several plants squeezed into the same container. Basil, parsley or mint are possible choices, but check the plant label for its light requirements and expected size. A jar that looks attractive on a shelf is useful only if that spot also suits the herb.
- If the herb already grows in a suitable nursery pot, keep it there and check the fit inside the jar.
- If repotting is necessary, add container potting mix to the new inner pot.
- Gently remove the plant from its old pot, supporting the root ball rather than pulling its stems.
- Set it at approximately the same soil depth, fill the gaps and gently firm the mix without packing it hard.
- Leave space below the pot’s rim for watering, then water outside the jar and allow excess water to drain.
- Place the pot inside the jar and position it where the herb can receive the light its label recommends.
Lift the pot out whenever you water
Make removal part of the watering routine. Pouring water into the assembled planter makes it easier to leave the pot sitting in a hidden puddle. Check the potting mix and follow the herb’s care guidance instead of watering automatically on a fixed day.
- Lift the inner pot out by its rim.
- Water it over a sink or on a saucer, allowing excess water to escape through the holes.
- Let dripping finish before returning the pot to the jar.
- Check the jar and pour away any collected water.
- If the mix is still wet at the next check, wait rather than adding more water.
Reuse the jar as the herb grows
The jar does not need to be the herb’s permanent home. If roots crowd the inner pot or the plant becomes difficult to water, move it into a larger container with drainage. Do not force a bigger pot through a narrow glass opening.
Wash the empty jar and use it again with another small herb, or return it to another household use. Keep the arrangement easy to take apart: an accessible pot, an empty outer jar and enough room for the plant to grow make this reuse project practical over time.